Photoshop A2 Assessment
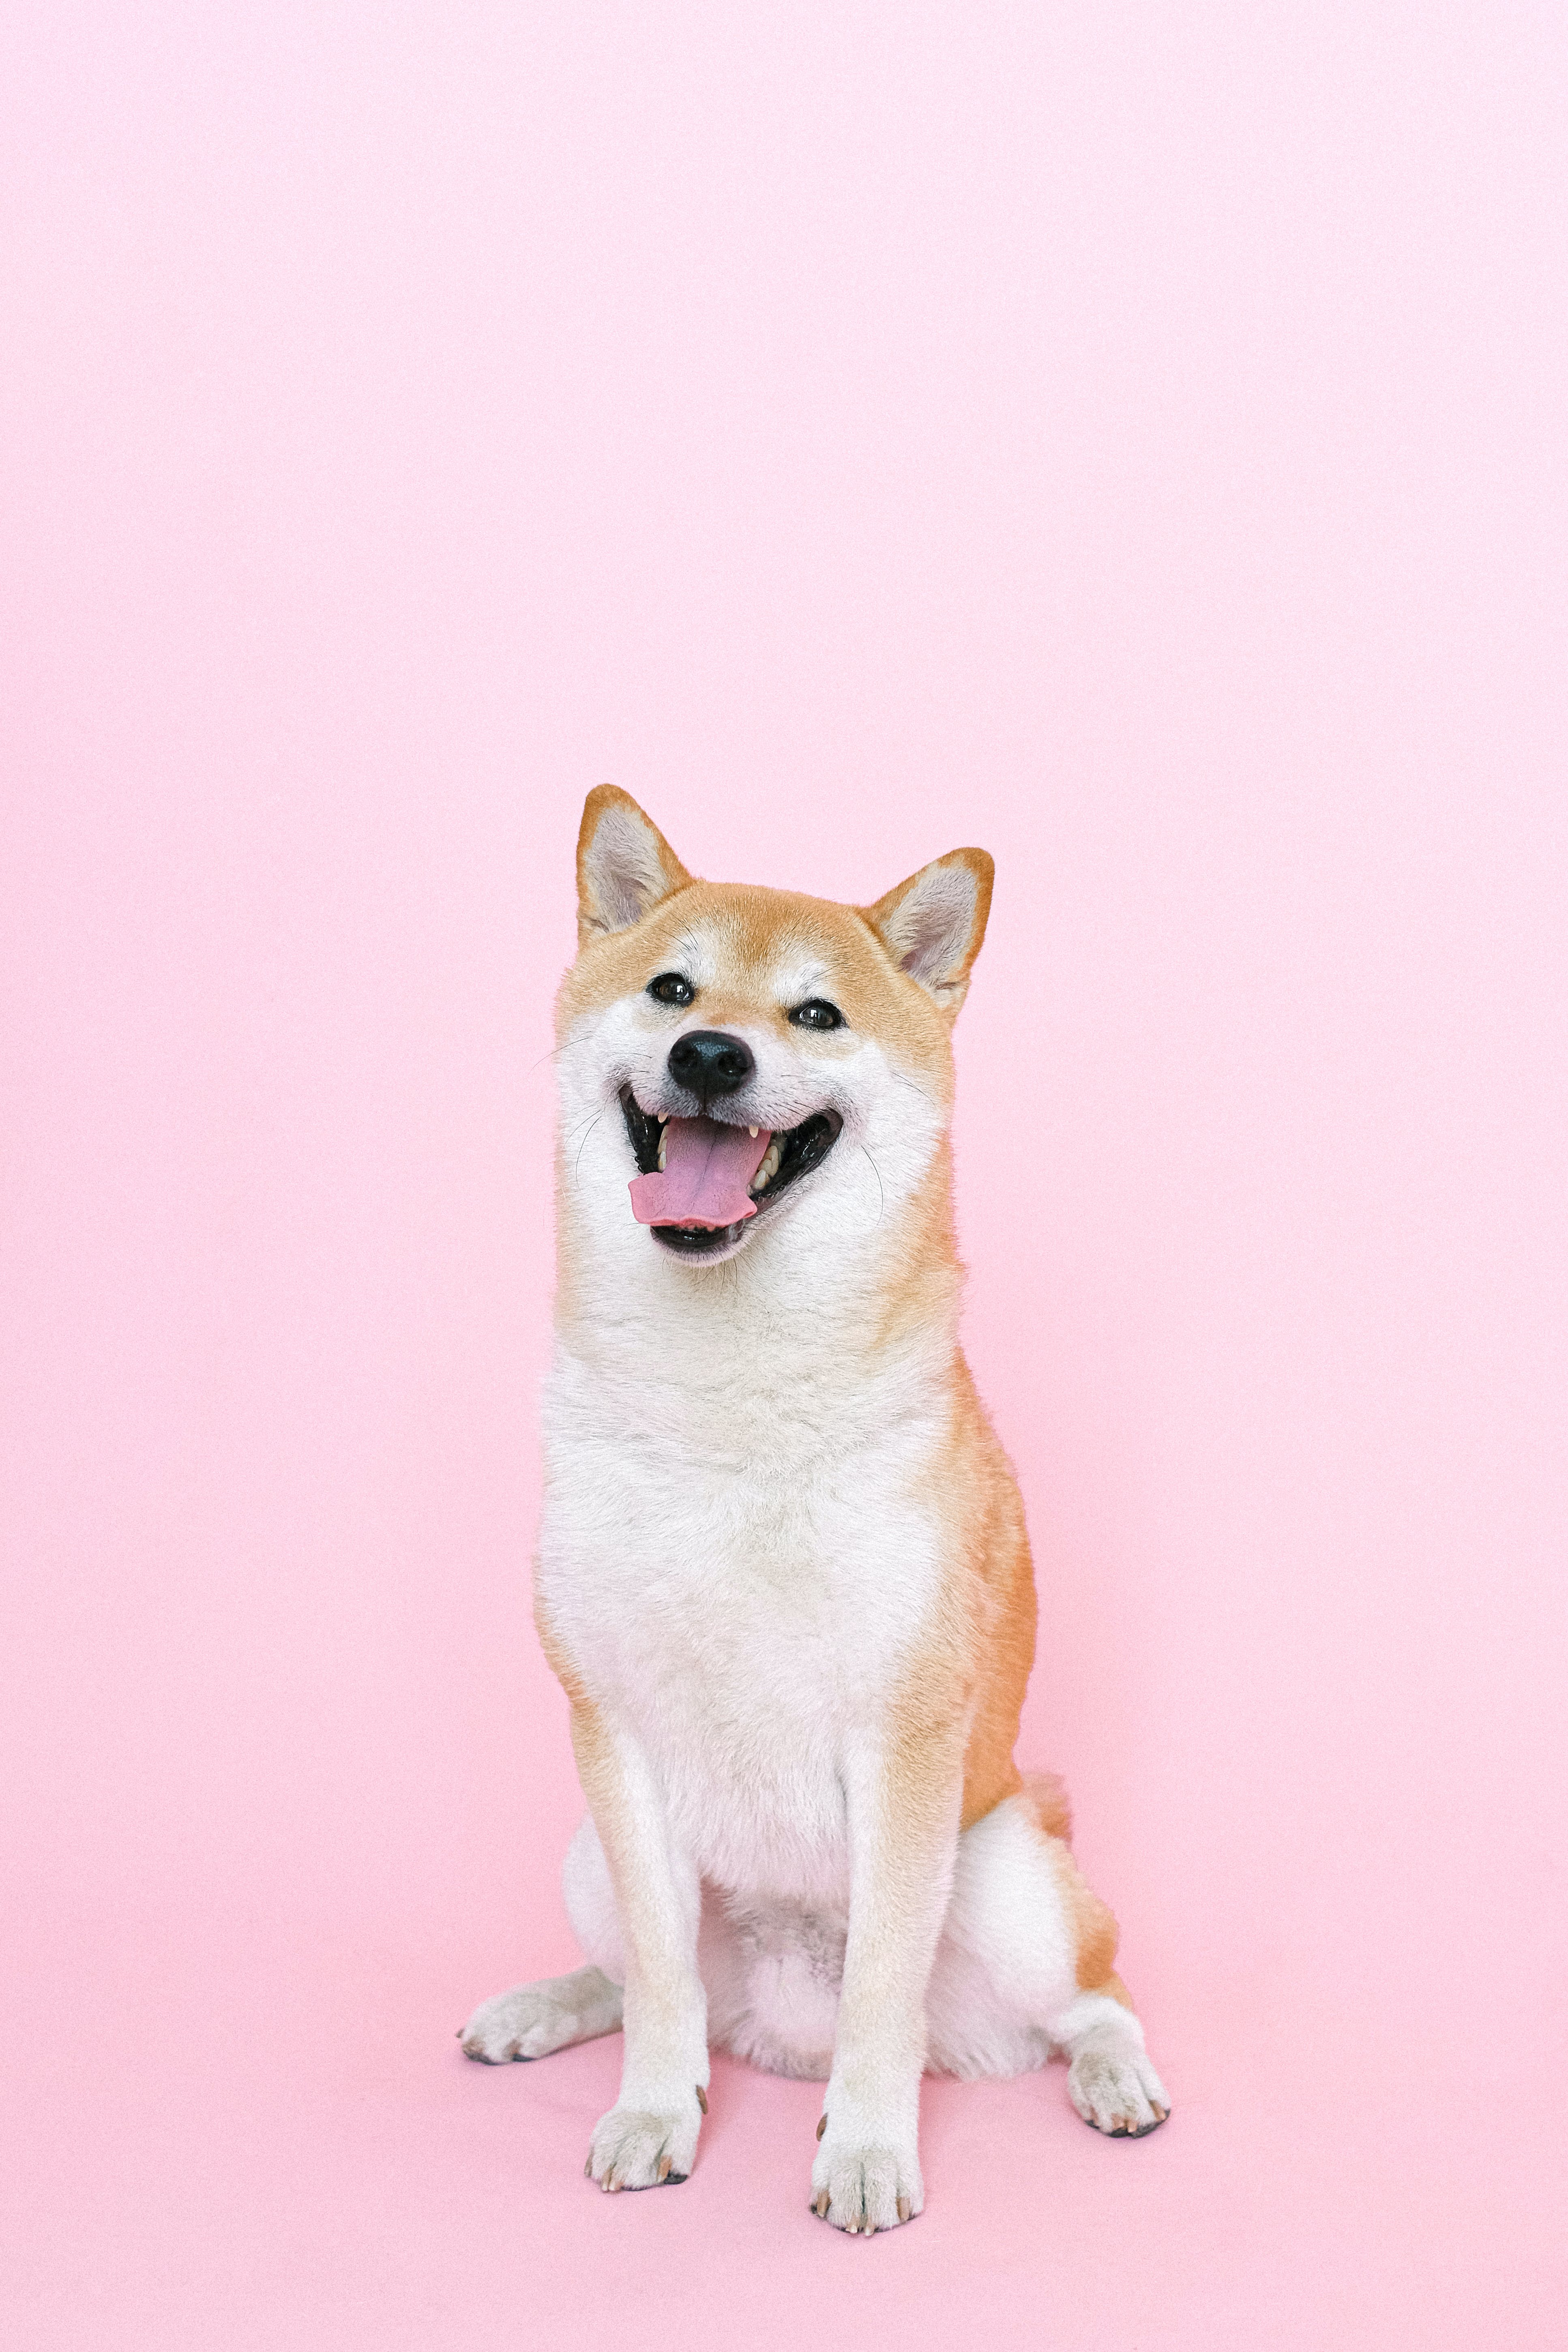
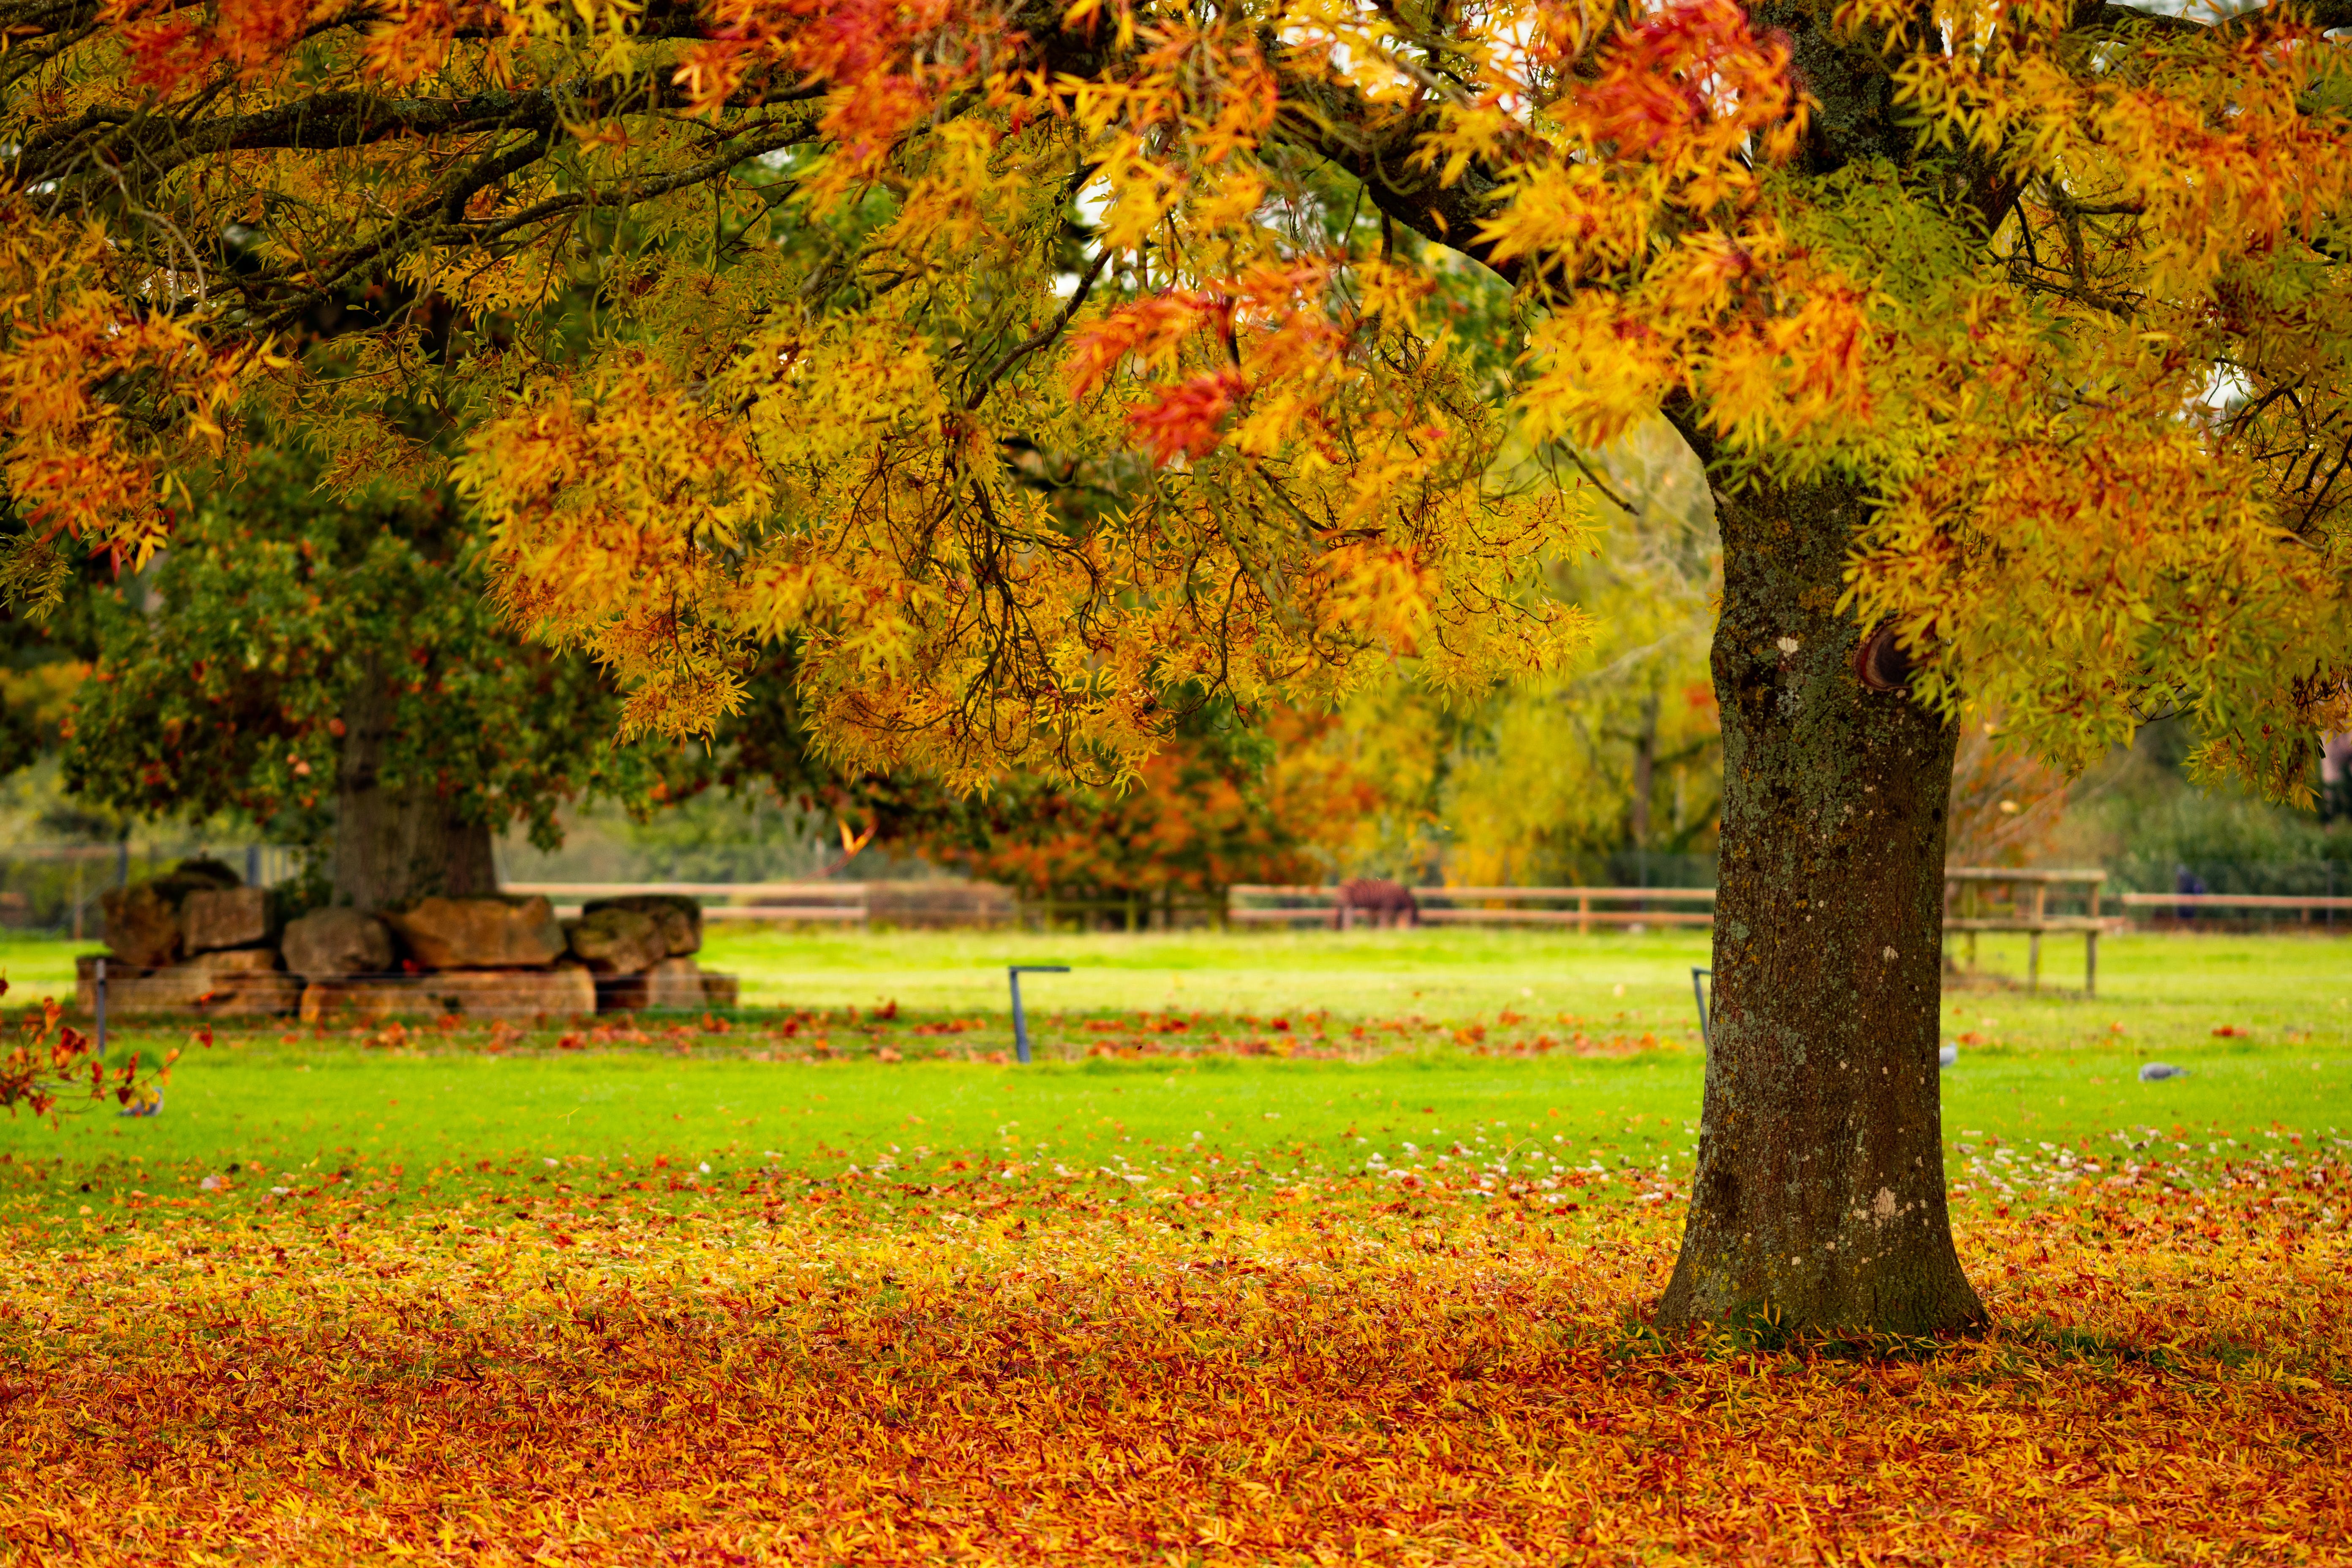
- Download the following pictures on your iPad


- Create a new Photoshop Project that is 7 inches wide by 5 inches tall and is 300 pixels per inch
- Use the Fall colors picture of the tree as the background image. Make it cover the whole canvas
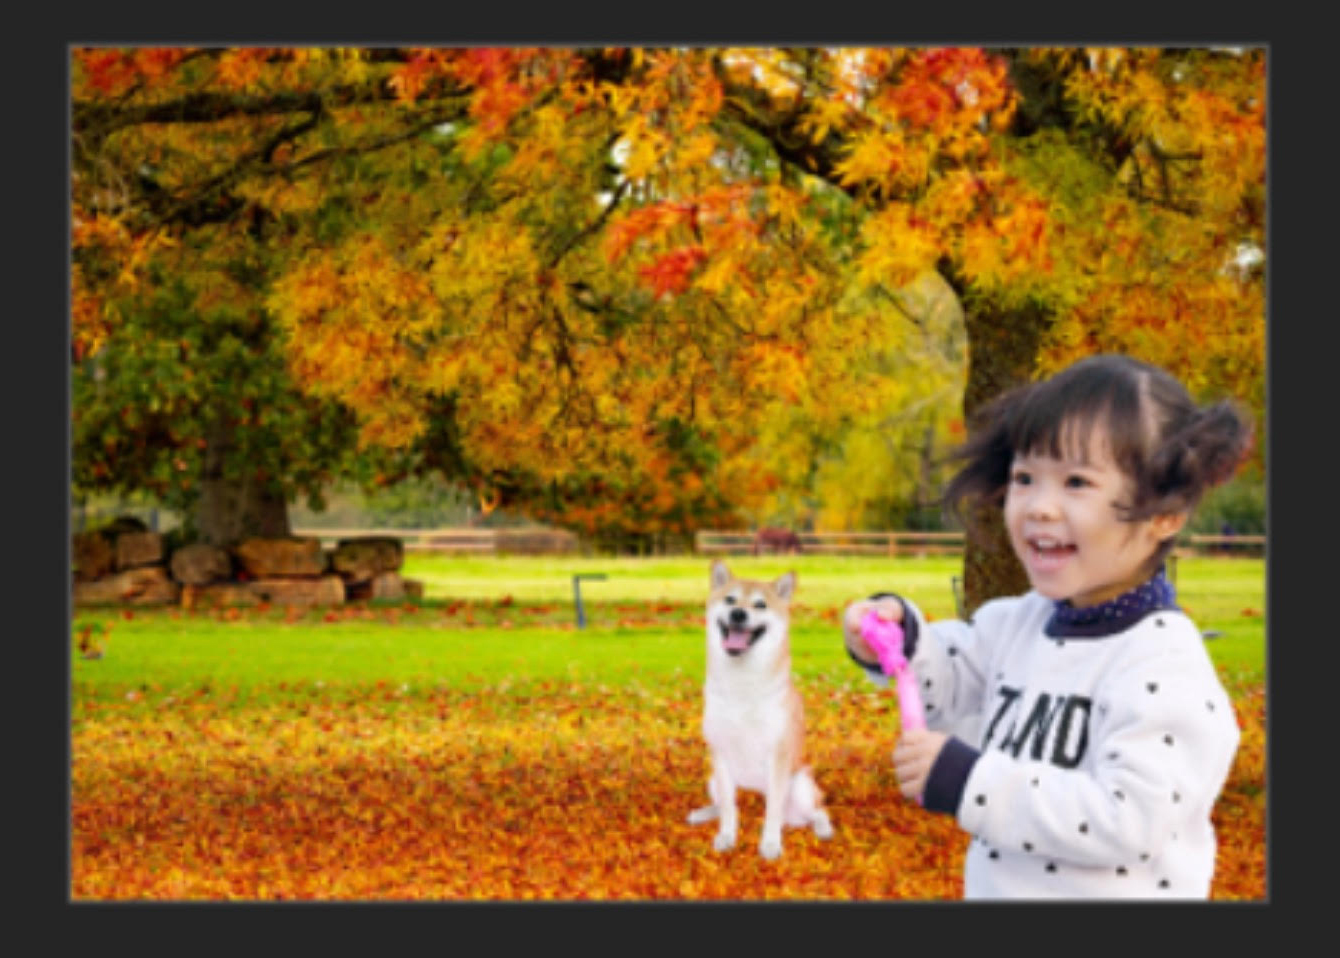
- Add the girl on the right as seen in the sample picture below and remove the background
- Add the dog next to the girl with the background also removed

- Watch the following video to add the box that ends up being semi-transparent
-
- Adjust the opacity of the red box to about 70%
- Duplicate the background layer
- Adjust the opacity of the background layer to 70%
- Add an clipped adjustment layer to the the duplicated background layer for Hue and Saturation
- Turn the lightness all the way down for the Duplicated background layer
- Create darkend edges for the picture and a shadow for the dog by using the eraser tool with soft edges on the top background layer
- Add a clipped Hue and Saturation Adjustment layer for the original background and make the picture more red
- Add a curves clipped adjustment layer to the girl and make her more red
- Add a brightness/contrast clipped adjustment to the girl and make her darker to match the lighting in the background picture
- Add a Hue and saturation clipped adjustment layer to the dog and make him more red
- Add a brightness/contrast clipped adjustment layer to the dog and make him darker to match the background picture lighting
- Add the C.S. Lewis quote with bright yellow text that nicely fills the box
- Use a fine brush to hand write your name in yellow on the bottom left corner of the red box
- Your finished product should look like the sample below

- Export the picture to your photos with the name PhotoA2Yourname
- Turn in the picture
COPYRIGHT © 2023-2025 LEARNSOFTWARETODAY.COM
