Photoshop C1L5 Crop and Adjust
- Download the picture darkcrop.jpg below:
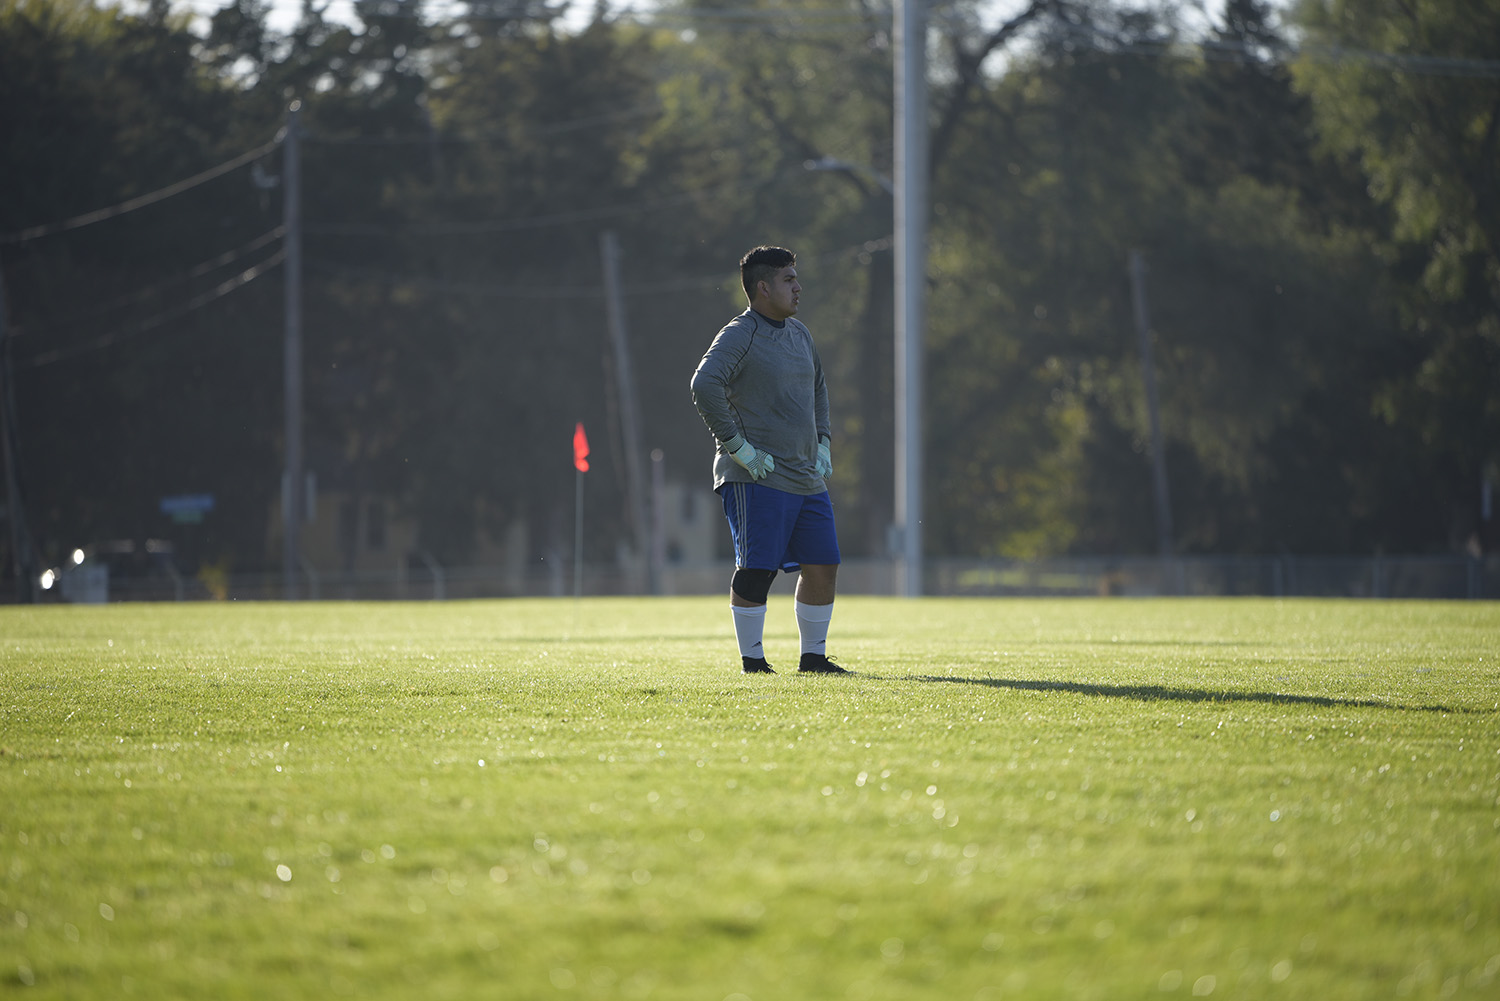
- Open it in Photoshop.
- Add an Brightness/Contrast Adjustment Layer. Click the
 button in lower right corner -> Click Brightness/Contrast.
- Adjust the brightness to 80 and the Contrast to 50.
- Select the eraser tool. Click

- Change to a hard brush with a size of 500px. This is the second icon from the left on the top left.
- Delete the lightened part of the background, but don't delete any of the adjustment layer over the person. Leave a little of the background around the person.
- Use Ctrl + Space to zoom in on the top half of the person.
- Change to a soft brush with a size of 45px. Delete the light parts of the background around the person. Change to a smaller brush using the [ or ] keys as needed.
- Zoom out to whole picture. Ctrl-0
- Crop the pictures with a 5:7 ratio. Click the crop tool
 -> Choose the 7:5 or 5:7 ratio -> Switch it if needed to be 5:7. -> Crop the picture to look like the one below:

- Zoom to whole picture. Ctrl-0
- Select the Background Layer.
- Use the spot healing brush to clean up the background like the following picture:

- Add your name to the picture with the text tool in the lower left corner of the picture.
- Save your photoshop project with the name PL5yourname.psd in your folder on the server.
- Flatten the layers so that you can do the next step.
- Save a picture also in your folder as PNG with the same name. Click File -> Save As -> Change the name if needed. -> Change Save as type to PNG
- Turn in the PL5yourname.png picture.
COPYRIGHT © 2023-2025 LEARNSOFTWARETODAY.COM

 button in lower right corner -> Click Brightness/Contrast.
 -> Choose the 7:5 or 5:7 ratio -> Switch it if needed to be 5:7. -> Crop the picture to look like the one below: